
 English
 Français
 Español
 Português
 Deutsch
 Nederlands
 Română
 Polski
 Italiano
 Suomi
Suomi Dansk
Dansk Čeština
 Ελληνικά
 Svenska
 Nynorsk
 Українська
 Русский
 Latviešu
 Magyar
 Lietuvių
You’ve likely felt a bit of apprehension when filling out a check. A common question arises: "Have I included all the necessary details?" Whether it's for paying rent, a bill, or offering a gift, every detail matters to avoid unnecessary complications.
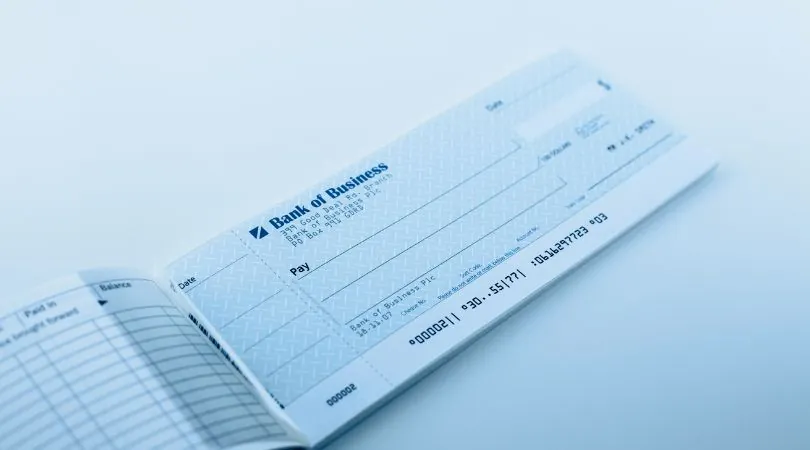
Your checkbook can become a reliable ally in situations where other payment methods fall short. However, steps like writing the amount in words or noting the beneficiary can lead to confusion. We understand how important it is to write a check without errors to avoid bank rejection or delays.
In this guide, we’ll walk you through each step, emphasizing key details you shouldn’t overlook. We’ll also share practical tips to avoid common mistakes and protect your transactions. You’ll learn how to fill out a check correctly and ensure compliance for smooth and stress-free payments. Take the time to master these simple steps, and your future transactions will be effortless.
The necessary information for filling out a check
To start, it’s crucial to have all the required information ready before filling out a check. This includes:
The first thing to write on a check is the date. This is usually located in the upper right corner. The date of the check must be written either in full (e.g., "January 15, 2024") or in numerical form. This information is crucial as it determines the period during which the check remains valid.
Keep in mind that the validity of a check is typically 12 months from the date indicated. Beyond this period, the check will be rejected by banks, which could cause inconvenience for both the issuer and the beneficiary.
Next, fill out the section marked "Pay to the order of" with the beneficiary's name. This is the person or entity that will cash the check. Make sure to write the name clearly and without errors.
If the beneficiary’s name is uncommon or includes special characters, double-check with the recipient or refer to your documents to ensure proper spelling. An error could result in the check being rejected.
In the designated box, write the amount in digits. For example, if the sum is 150 euros and 30 cents, enter "150.30 €". Align the number to the right of the box to prevent fraudulent alterations.
Remember to include a comma before the cents to prevent inconsistencies or misunderstandings during processing.
Below the beneficiary’s name, there is a line where you must write the amount in words. For instance, "one hundred fifty euros and thirty cents." Writing the amount in words helps secure the check against possible alterations.
If there is a discrepancy between the amount in digits and the amount in words, the written version will prevail. Be very careful during this step.
Filling out the check stub
Many checkbooks include a stub or counterfoil where you can record details of the check you’ve just issued. This is a great habit to adopt for keeping track of your transactions when needed.
It’s advisable to fill out this information immediately after writing the check to ensure you don’t forget any details. This will also help you review your bank statements with precision later.
Finally, sign the check in the designated space, typically located in the bottom right corner. The signature must exactly match the one registered with your bank—any discrepancy could result in the check being rejected.
A clear and compliant signature ensures that your check will be processed quickly and without issues by your financial institution.
Practical tips to avoid common mistakes
When filling out a check, a few precautions can help you avoid costly errors: